
Blooming
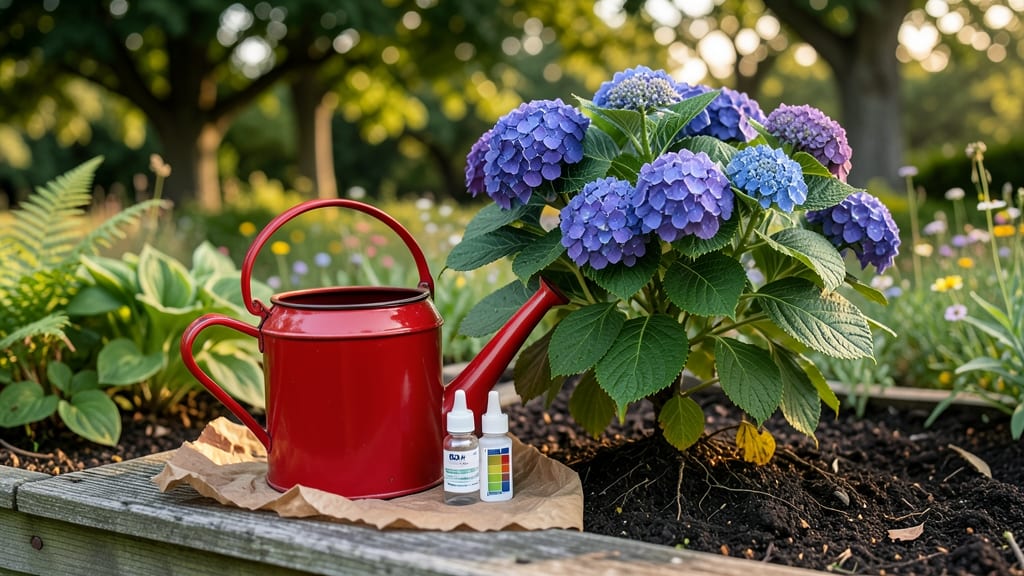
Taking care of hydrangeas transforms your garden into a dreamy, color-changing display—if you follow the right steps. 🌸 I’ve had mine turn from pink to blue in a single season, and the secret lies in soil pH, watering consistency, and knowing when to prune.
Most people overwater or prune at the wrong time, which is why their hydrangeas never reach their full potential.
The key to happy hydrangeas starts with well-draining, acidic soil (think mulch and compost) and morning sun with afternoon shade—they hate scorching heat. Water deeply twice a week (more in extreme heat), and always check the top inch of soil before watering.
Overwatering is the #1 killer, so let the roots breathe between drinks.
Pruning is where most gardeners mess up: Cut back in late winter or early spring (never after blooms appear), and remove 1/3 of the oldest stems to encourage fresh growth. Feed with balanced fertilizer in spring and a low-phosphorus one in summer to keep blooms lush.
With these tweaks, your hydrangeas will reward you with bigger, brighter blooms that last all summer.
Bonus tip: Adjust soil pH to change flower color—add lime for pink, sulfur for blue. And avoid moving potted hydrangeas once planted; they’re divas about root disturbance. Stick with these basics, and you’ll have hydrangeas that make your neighbors green with envy.
📚 In This Guide
- What you need
- Instructions
- Tips and common mistakes
- Wrapping up and next steps
What you need
- ● Hydrangea plant: Choose between macrophylla (large blooms), paniculata (cone-shaped flowers), or oakleaf varieties. Buy from a reputable nursery or garden center.
- ● Well-draining potting mix: A blend of 50% peat moss or coconut coir, 30% perlite or pumice, and 20% compost (for potted hydrangeas). For in-ground planting, amend soil with 2-3 inches of organic matter (like compost or aged manure).
- ● Watering can or hose with a gentle spray nozzle: Hydrangeas love moisture but hate soggy roots. Aim for 1-1.5 gallons per plant, 2-3 times per week during dry spells.
- ● Balanced fertilizer (10-10-10 or 20-20-20): Use 1 tablespoon per gallon of water every 4-6 weeks during the growing season (spring to early fall). For acid-loving varieties, opt for hydrangea-specific fertilizer with higher phosphorus.
- ● Pruning shears: Sharp, bypass pruners (4-6 inch blades) to trim dead or overgrown branches. Sterilize with rubbing alcohol between cuts.
- ○ Mulch (optional but recommended): 2-3 inches of shredded bark, pine needles, or straw to retain moisture and regulate soil temperature.
- ● Garden gloves: Protect your hands from thorns (especially on paniculata varieties) and soil-borne pathogens.
- ● pH test kit: Monitor soil acidity (ideal range: 5.2-6.0 for blue/purple blooms, 6.0-7.0 for pink). Adjust with aluminum sulfate (for acidity) or lime (for alkalinity) if needed.
- ● Support stakes or cages: Tall varieties (like paniculata) may need 6-foot bamboo stakes or tomato cages for stability.
- ● Rain gauge or moisture meter: Track watering consistency—hydrangeas hate drought and waterlogging!
- ● Epsom salt (magnesium sulfate): 1 tablespoon per gallon of water monthly can boost green foliage and blooms.
- ● Frost cloth or row covers: Protect young plants from late spring frosts (20-30°F tolerance for most varieties).
Step-by-Step guide to hydrangea care for year-round success
Mastering hydrangea care isn't about constant effort—it's about timing, soil secrets, and a few simple habits.
🌱 Step 1: Choose the Right Location With Smart Light Exposure
Hydrangeas thrive in morning sun with afternoon shade—this prevents leaf scorch while ensuring enough energy for blooms. I always plant mine where they get 4-6 hours of direct sun but are shaded by trees or structures after 11 AM. The key is watching the leaves: if they crisp or turn brown by late afternoon, move your plant to a slightly shadier spot.
For container-grown hydrangeas, rotate the pot a quarter turn weekly so all sides get even light. You'll notice new growth leaning toward the light—this is your signal to adjust placement. Southern exposures work best, but eastern or northern spots can work if you supplement with dappled shade during peak summer heat.
💧 Step 2: Master the Watering Routine for Vibrant Blooms
Hydrangeas drink 1-1.5 gallons of water per week during active growth, but consistency matters more than quantity. I water deeply 2-3 times per week until water runs out the drainage holes—this encourages deep root growth. Let the top 2-3 inches of soil dry slightly between waterings; if it stays soggy, roots rot quickly.
Here's the thing—hydrangea color changes with soil pH, but that only works if they're properly hydrated. Yellowing leaves usually mean underwatering, while drooping blooms signal overwatering. Mulch with 2-3 inches of organic mulch (like shredded bark) to retain moisture and regulate soil temperature. Replenish mulch annually in early spring.
☀️ Step 3: Feed and Prune for Seasonal Health
Feed your hydrangea in early spring with a balanced 10-10-10 fertilizer (use half-strength) when new growth appears. I also add 1 cup of compost around the base monthly during bloom season. For blue blooms, add aluminum sulfate to acidic soil (pH 5.5-6.0); for pink, keep soil neutral (pH 6.0-7.0). Test soil every 2-3 years—pH changes gradually.
Prune in late winter or early spring (before buds swell) to shape the plant and encourage next year's blooms. Cut back old wood varieties (like 'Endless Summer') by 1/3 to stimulate new growth. For bigleaf types, remove only dead or crossing branches—these bloom on old wood. Sterilize pruners with rubbing alcohol between cuts to prevent bacterial spread.
✂️ Step 4: Prepare for Winter and Spring Renewal
In late fall, cut back panicle and smooth hydrangeas (new wood bloomers) to 6-12 inches above ground. Wrap the base with burlap or frost cloth if your winters dip below 10°F. I leave mulch in place through winter—it insulates roots and prevents freeze-thaw cycles that damage soil structure.
In early spring, remove winter protection and add a fresh layer of mulch. Watch for new shoots emerging from the base—these are your plant's way of telling you it's ready for the season. Deadhead spent blooms in late spring** to redirect energy to next year's flowers. Never prune in fall; you'll cut off next year's buds.
Tips & tricks for perfect hydrangea care
Between us, these little details make all the difference between hydrangeas that merely survive and ones that thrive with show-stopping blooms.
Light Exposure Secret: The 4-6 hours of morning sun in Step 1 is non-negotiable for energy production, but here's what nobody tells you—watch the leaves after 11 AM. If they start crisping by early afternoon, you've got the perfect signal to adjust placement. I've seen hydrangeas go from sad to spectacular just by moving them 3 feet closer to a tree's dappled shade. For container plants, that weekly quarter-turn rotation isn't just about even growth—it's your early warning system for light imbalance.
Watering Wisdom: That 1-1.5 gallons per week isn't a hard rule—it's a baseline that changes with your climate. In summer heat, I double-check moisture by sticking my finger 2 inches deep; if it's dry, that's your cue for watering. The real trick? Watering deeply means until you see runoff from the drainage holes. Many gardeners stop too soon, leaving roots thirsty. And that 2-3 inch mulch layer? It's not just decoration—it's your moisture regulator and temperature insulator rolled into one.
Pruning Precision: When you cut back old wood varieties by 1/3 in Step 3, you're not just shaping the plant—you're setting up next year's blooms. Here's my breakthrough: mark the cuts with garden flags before making them. This visual guide prevents over-pruning, which can leave your hydrangea looking like it's in mourning. And that sterilizing step with rubbing alcohol? It's not optional—bacterial spread from dirty tools can turn your pruning day into a disease disaster.
Winter Survival Strategy: The 10°F threshold for winter protection is your critical number, but here's the thing about frost cloth—it's not just about wrapping. Leave a small gap at the bottom to prevent moisture buildup, which can rot stems. I've seen hydrangeas survive -20°F winters with this simple adjustment. And that late fall pruning? Timing is everything—wait until after the first hard frost, when the plant has entered dormancy but before the ground freezes solid.
Pro Tips for Take Care Hydrangea
- Between us, these little details make all the difference between hydrangeas that merely survive and ones that thrive ...
- Light Exposure Secret: The 4-6 hours of morning sun in Step 1 is non-negotiable for energy production, but here's wha...
- Watering Wisdom: That 1-1.5 gallons per week isn't a hard rule—it's a baseline that changes with your climate. In sum...
Frequently asked questions
Got questions about keeping your hydrangeas thriving? You’re not alone! Here are some of the most common concerns—plus quick, expert-backed answers to keep those lush blooms happy year-round.
How often should I water my hydrangeas?
Hydrangeas love consistent moisture—aim for 1–1.5 inches of water per week, either from rainfall or manual watering. Mulch around the base (2–3 inches deep) to retain moisture and protect roots. Morning watering is best to prevent fungal issues.
Why are my hydrangea leaves turning yellow?
Yellow leaves usually signal overwatering, underwatering, or nutrient deficiencies. Check the soil: if it’s soggy, improve drainage; if dry, water deeply. Yellowing on older leaves? Likely natural aging. New growth yellow? Could be iron deficiency—try a chelated iron supplement or adjust soil pH (hydrangeas prefer 5.2–5.5).
When should I prune hydrangeas, and how?
Timing depends on the type:
- Bigleaf hydrangeas (most common): Prune right after flowering (late summer/early fall) to avoid cutting next year’s blooms.
- Panicle or oakleaf hydrangeas: Prune in late winter/early spring before new growth starts.
Can I grow hydrangeas in pots, and what’s the best soil?
Hydrangeas thrive in containers if you choose the right mix:
- Use a well-draining potting soil blended with perlite or orchid bark (50/50 ratio).
- Add organic matter like compost or peat moss for nutrients.
- Repot every 2–3 years and fertilize monthly during growing season (spring–summer).
How do I prevent pests like aphids or spider mites?
Start with prevention:
- Inspect leaves regularly (especially undersides).
- Spray with neem oil or insecticidal soap at the first sign of pests.
- Encourage beneficial insects like ladybugs by planting companion flowers (e.g., marigolds).
Wrapping up and next steps
Caring for hydrangeas is all about patience, consistency, and a little love—and you’ve got this! 🌸 From pruning at the right time to adjusting soil pH for stunning blooms, these simple steps will reward you with vibrant, long-lasting flowers year after year.
Now that you’re armed with the know-how, why not take the next step? Try experimenting with a new hydrangea variety or share your green thumb wisdom with fellow plant lovers!