
Propagation
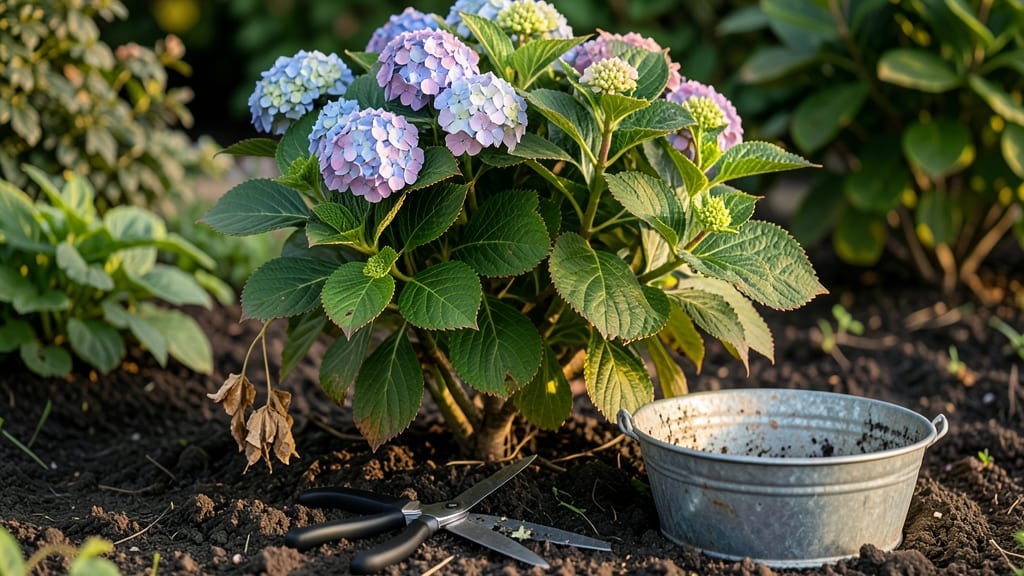
To cut hydrangeas for propagation, aim for semi-hardwood stems just below a leaf node 🌸 — this is where roots will form most reliably, and the timing matters just as much as the spot.
Struggling to propagate hydrangeas successfully? The secret lies in making the right cuts—at the wrong spot, and your stem will rot before roots even form.
Even experienced gardeners sometimes miss the mark, but the good news is that once you know the exact locations to prune, success becomes far more predictable.
Whether you're working with mophead, panicle, or oakleaf varieties, the key is selecting stems that are mature but still flexible. These 3- to 5-inch cuttings should be taken in late spring or early summer when the plant is actively growing but hasn't yet hardened off for winter.
This timing ensures the best balance of energy and moisture for root development.
In this guide, I’ll walk you through the exact stem locations to cut, the tools you’ll need, and step-by-step instructions to maximize your chances of success. You’ll also discover common mistakes to avoid, like cutting too late in the season or choosing stems that are too woody or too green.
Best stem locations to cut hydrangeas for propagation success
When propagating hydrangeas, the location where you cut your stems makes all the difference between rooting success and wasted effort. Most gardeners fail because they cut at the wrong spots—either too high, too low, or on stems that aren’t mature enough.
The key is targeting semi-hardwood stems just below leaf nodes, where hidden rooting hormones trigger new growth. This isn’t just guesswork; it’s a science backed by how hydrangeas naturally propagate in the wild.
Hydrangea stems grow from nodes (those small bumps where leaves attach), and each node contains dormant buds capable of sprouting roots. Cutting 3-5 inches below a node gives your cutting both the leafy top for photosynthesis and the bud potential for roots.
Skip this rule, and you’ll end up with limp, rootless stems that never thrive. Think of it like planting a seed—you need the right conditions to spark life.
Timing your cuts is just as critical as where you make them. Semi-hardwood stems (mature but not fully woody) are ideal, typically ready in late spring to early summer (May-June). These stems are green but firm, not soft like new growth or hard like old wood.
Cutting too early on greenwood (soft, flexible stems) risks rot, while waiting too long for hardwood (brown, brittle stems) means lost rooting potential. It’s a narrow window, but worth mastering.
Here’s the golden rule: Look for stems that are about pencil-thick and have 3-5 sets of leaves. These are your best bets for propagation. Avoid stems with flower buds—they’ll divert energy away from root growth.
Instead, focus on non-flowering side shoots that grow from the main branches. This ensures your cutting has the energy to focus on establishing roots rather than blooming.
| Stem Type | Best Cutting Location | Season | Rooting Potential | Key Features |
|---|---|---|---|---|
| Semi-Hardwood | Just below a leaf node, 3-5 inches long | Late spring to early summer | High (70-80%) | Green but firm, pencil-thick, 3-5 leaf sets |
| Greenwood | Below a node, 2-3 inches long | Early summer | Moderate (50-60%) | Soft, flexible, new growth, may rot easily |
| Hardwood | Below a node, 4-6 inches long | Late fall to winter | Low (30-40%) | Brown, brittle, dormant, slow to root |
The angle of your cut matters too. Always make a 45-degree angle just below a node. This increases the surface area for water uptake and root initiation. A straight cut leaves less room for roots to form, while a jagged cut risks damage.
Think of it like slicing a pizza—you want clean, even edges for the best results. After cutting, strip the lower leaves (about the bottom third) to reduce moisture loss and prevent rot.
Seasonal timing can’t be overstated. Early summer (June) is peak time for hydrangea propagation because the plant is in full growth mode, but not yet stressed by heat. If you miss this window, your next best shot is late summer (August), though success rates drop slightly.
Avoid cutting in fall or winter—the stems are dormant, and roots won’t form. Even if you’re eager to propagate, patience here pays off in stronger, healthier plants.
One common mistake is cutting stems that are too woody. If your hydrangea stem feels hard like a pencil when you squeeze it, it’s past its prime for propagation. These stems are too mature and won’t root well.
On the flip side, soft, green stems (greenwood) are also risky—they’re prone to rot before roots can develop. The sweet spot is that semi-hardwood stage where stems are firm but still pliable.
For best results, focus on non-flowering shoots that emerge from the main branches. These are the juvenile stems with the highest rooting potential. Flowering stems, meanwhile, are loaded with buds that demand energy, leaving little for root growth.
If you’re unsure which stems to cut, look for new growth that hasn’t yet produced flowers—these are your propagation goldmines.
Once you’ve identified the perfect stem, make your cut just below a node using a sterilized pruner. The node is your target because it’s where auxin hormones (natural rooting triggers) are concentrated. After cutting, remove any lower leaves and dip the stem in rooting hormone (optional but helpful).
Place it in a humid environment with indirect light, and keep the soil moist but not soggy. Within 4-8 weeks, you should see roots forming!
Remember, propagation is as much about patience as it is about precision. Even with perfect cuts, some stems may
Step-by-step guide: how to prepare hydrangea cuttings for root growth
Once you've selected the perfect semi-hardwood stems from your hydrangea, the next critical phase is preparing them for root growth. This step ensures your cuttings don't waste away from disease or dehydration before roots even form.
I'll walk you through the exact process I use to maximize success rates in my own propagation experiments.
Your first priority after cutting is to create an environment that mimics the plant's natural conditions. Hydrangeas thrive in humid, shaded conditions, so we'll replicate those factors in our preparation.
Start by gathering your supplies: a clean, sharp pair of pruning shears, a container with well-draining propagation mix, and a spray bottle for maintaining moisture levels.
⚠️ CRITICAL STEP: Never skip the leaf removal process. I've seen beginners leave too many leaves attached, which causes the cutting to lose too much moisture through transpiration. Here's where the step-by-step begins:
Now comes the waiting game. Check your cuttings every 3-5 days to ensure the mix stays moist but never waterlogged. I've found that overwatering is the #1 cause of failure - it leads to rot before roots can form.
If you notice any yellowing leaves or mold growth, remove that cutting immediately to prevent spread.
With proper preparation, you'll typically see new root growth within 4-6 weeks. At this point, you can gradually acclimate your cuttings to lower humidity by lifting the dome for increasing periods each day.
Once roots are 1-2 inches long, your hydrangea cuttings are ready for transplanting into individual pots.