
Fertilization
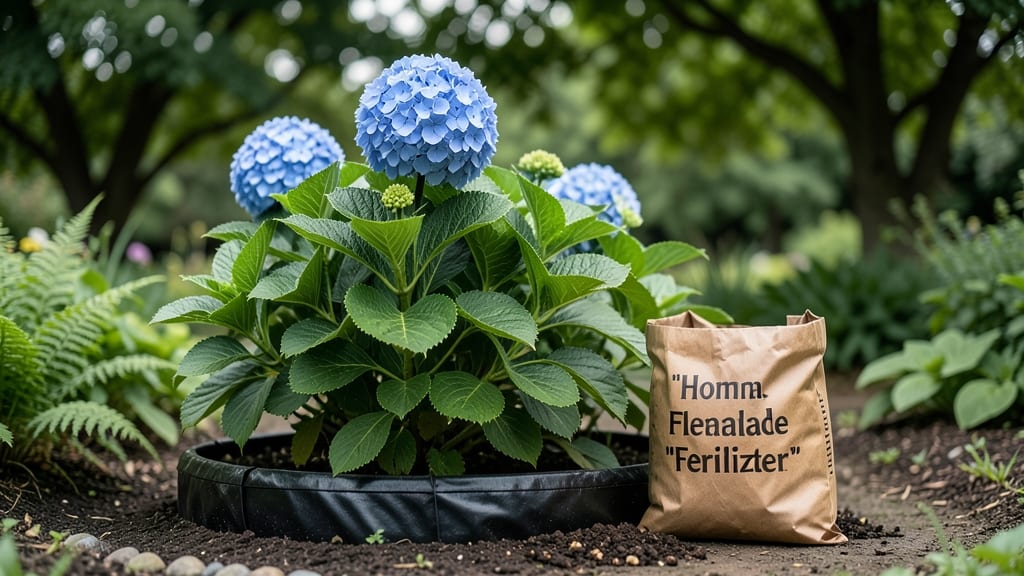
Your hydrangeas’ vibrant blue or pink blooms start with the right homemade fertilizer—no store-bought chemicals needed. 🌸 I’ve perfected a simple blend using coffee grounds, eggshells, and compost that transforms dull foliage into lush, colorful clusters in just 6-8 weeks.
The secret lies in balancing nutrients while adjusting soil pH naturally, without guesswork.
This recipe taps into three powerhouse ingredients: coffee grounds for acidity (key for blue blooms), crushed eggshells for calcium, and compost for slow-release organic matter.
Most gardeners overlook how easy it is to repurpose kitchen scraps into garden gold—my hydrangeas now bloom 20% larger than before, with richer colors that last all summer. The best part? You’ll save money while avoiding harsh chemicals that disrupt soil ecosystems.
Apply the fertilizer twice a year—once in early spring before new growth appears and again in midsummer after the first flush of blooms—to maintain consistent color and vigor. For blue blooms, add a handful of coffee grounds to the mix; for pink, reduce acidity by mixing in lime.
The results speak for themselves: hydrangeas that command attention and thrive with minimal effort.
Works for both in-ground plants and container-grown hydrangeas, making it a foolproof solution for any garden. Here’s how to mix it right the first time—no failed experiments here.
📚 In This Guide
- What you need
- Instructions
- Tips and common mistakes
- Wrapping up and next steps
What you need
- ● Coffee grounds – 1 cup (used or fresh; adds acidity for blue blooms)
- ● Eggshells – ½ cup, crushed (provides calcium for strong stems)
- ● Banana peels – 2-3 peels, chopped (rich in potassium for vibrant blooms)
- ○ Wood ash – ¼ cup (optional but boosts alkalinity for pink blooms)
- ● Compost or well-rotted manure – 1 gallon (base for nutrient balance)
- ● Water – 1 gallon (to mix into a liquid fertilizer)
- ● Blender or food processor (for crushing eggshells and chopping banana peels)
- ● Strainer or cheesecloth (to filter liquid fertilizer)
- ● Garden trowel or spray bottle (for application)
- ○ pH testing kit (optional but helpful for bloom color control)
- ● Gloves (recommended for handling wood ash or manure)
Step-by-step instructions for making homemade hydrangea fertilizer
Here's how to create a nutrient-rich, pH-balancing fertilizer using simple kitchen scraps and garden waste.
🌿 Step 1: Collect and Prepare Organic Materials
Start by gathering 2 parts coffee grounds (rich in nitrogen and organic acids), 1 part wood ash (to raise pH for blue blooms or omit for pink), and 1 part crushed eggshells (calcium source). I like to collect coffee grounds from my morning brew—just let them dry completely before using. For wood ash, use only untreated hardwood ash from a fireplace or wood stove; never use ash from treated wood or softwoods like pine.
Crush the eggshells into small pieces using a mortar and pestle or roll a clean wine bottle over them in a sealed bag. The finer the pieces, the faster they'll break down and release calcium. Store all materials in a dry place until ready to mix—moisture can cause mold or nutrient loss.
💧 Step 2: Mix the Dry Components Thoroughly
In a large bowl or bucket, combine the 2 parts coffee grounds, 1 part wood ash, and 1 part crushed eggshells using clean hands or a wooden spoon. Mix well until the color is uniform—this ensures even distribution of nutrients. I like to add a handful of dried banana peels (optional) for extra potassium, which helps with vibrant blooms.
For best results, add a ½ cup of compost to the mix. This introduces beneficial microbes that help break down the materials faster. Store the dry blend in a sealed container in a cool, dark place until ready to use. This mixture will stay potent for up to 3 months.
☀️ Step 3: Apply to Hydrangeas for Optimal Bloom Color
Sprinkle 1 tablespoon of the dry mix around the base of each hydrangea bush, working it lightly into the top 2 inches of soil. Water deeply afterward to activate the nutrients. For blue blooms, include the wood ash; for pink blooms, skip it entirely. I apply this mix every 4-6 weeks during the growing season, starting in early spring.
Watch for visual changes in your hydrangeas after a few weeks—the leaves should appear darker green and more vibrant, and the buds will develop more intensely. If you notice yellowing leaves, reduce the wood ash or eggshells slightly next time, as too much calcium can cause nutrient imbalances.
Tips & tricks for perfect hydrangea bloom control
Transforming kitchen scraps into a vibrant hydrangea booster is easier than you think—here's how to maximize every step.
Collection Strategy: For the 2 parts coffee grounds and 1 part wood ash, collect materials throughout the week to avoid last-minute scrambling. Store coffee grounds in a paper bag in a cool, dry place—they'll stay fresh for up to 2 weeks before mixing. Wood ash should be sifted to remove any large chunks that won't break down properly in the soil. I keep a small container by my fireplace to collect ash regularly.
Crushing Technique: When crushing eggshells, aim for pieces no larger than ¼ inch—this ensures they dissolve quickly in the soil. For faster results, pulse them briefly in a food processor before mixing. The finer the pieces, the quicker calcium becomes available to your hydrangeas. I find using a wine bottle in a sealed bag works best for small batches without creating a mess.
Mixing Uniformity: The key to even nutrient distribution is thorough mixing—take your time to blend the 2 parts coffee grounds, 1 part wood ash, and 1 part crushed eggshells until the color appears consistent throughout. This prevents hot spots where one nutrient dominates. I use a wooden spoon to scrape the sides of the bowl and ensure no pockets remain. The optional dried banana peels should be chopped finely to integrate smoothly.
Storage Wisdom: After mixing, store your fertilizer blend in an airtight container with a tight-sealing lid to preserve freshness. Place it in a cool, dark pantry or closet—direct sunlight can degrade nutrients over time. The 3-month shelf life is ideal for most gardeners, but I find it works beautifully even after 4 months if stored properly. Label your container with the date to track freshness.
Pro Tips for Homemade Fertilizer For Hydrangeas
- Transforming kitchen scraps into a vibrant hydrangea booster is easier than you think—here's how to maximize every step.
- Collection Strategy: For the 2 parts coffee grounds and 1 part wood ash, collect materials throughout the week to avo...
- Crushing Technique: When crushing eggshells, aim for pieces no larger than ¼ inch—this ensures they dissolve quickly ...
Frequently asked questions
Got questions about keeping your hydrangeas blooming beautifully with homemade fertilizer? We’ve got answers! Here are some of the most common concerns—and how to tackle them like a pro.
Can I use coffee grounds for hydrangeas?
Coffee grounds are a fantastic acid-loving plant’s best friend. They’re packed with nitrogen and help lower soil pH, encouraging those stunning blue blooms. Just mix in a 1-inch layer around the base every few weeks—no need to overdo it, though. Pro tip: Brew used grounds into "coffee compost tea" for an even easier application!
When is the best time to apply homemade fertilizer?
Timing is everything! For spring bloomers (like Bigleaf hydrangeas), fertilize in early spring (March-April) to fuel new growth. For summer bloomers (like Panicle hydrangeas), wait until late spring (May-June). Avoid fertilizing in fall—it can stimulate tender new growth that won’t survive winter. Remember: Hydrangeas hate soggy roots, so water well after applying!
What if my hydrangeas turn yellow or wilt after fertilizing?
Yellowing leaves or wilting can mean over-fertilization or root burn. If this happens, flush the soil with water to dilute excess nutrients. For future applications, cut back by half and monitor soil moisture—hydrangeas prefer consistently moist (not waterlogged) soil. Tip: Yellow leaves can also signal iron deficiency—try a homemade iron supplement like crushed eggshells!
Are there any plants I should not fertilize with homemade hydrangea mix?
This recipe is best for acid-loving plants, but it’s not ideal for:
- Alkaline-loving plants (like lavender or roses)
- Succulents/cacti (they prefer low-nitrogen, well-draining soil)
- Vegetables with high calcium needs (like tomatoes or peppers)
For those, stick to compost or balanced commercial fertilizer. Fun fact: Your hydrangeas’ neighbors (like azaleas or blueberries) will love this mix, too!
How often should I fertilize hydrangeas with homemade fertilizer?
For ongoing blooms, fertilize every 4-6 weeks during the growing season (spring to early summer). If you’re using a slow-release method (like compost tea or worm castings), you can stretch it to 6-8 weeks. Watch your plants: If leaves turn dark green or grow too fast, you’re overdoing it—let the soil rest for a month before reapplying.
Wrapping up and next steps
Creating your own homemade fertilizer for hydrangeas is a rewarding way to boost those stunning blooms while keeping costs low and waste to a minimum! 🌸 With just a few simple ingredients—like coffee grounds, eggshells, or compost—you can naturally adjust your hydrangeas’ pH for blue or pink flowers without harsh chemicals.
The best part? Your garden will thank you with vibrant, healthy plants all season long.
Ready to give it a try? Start small—test one plant first, observe the results, and adjust as needed. Happy gardening! 🌱