
Vegetables
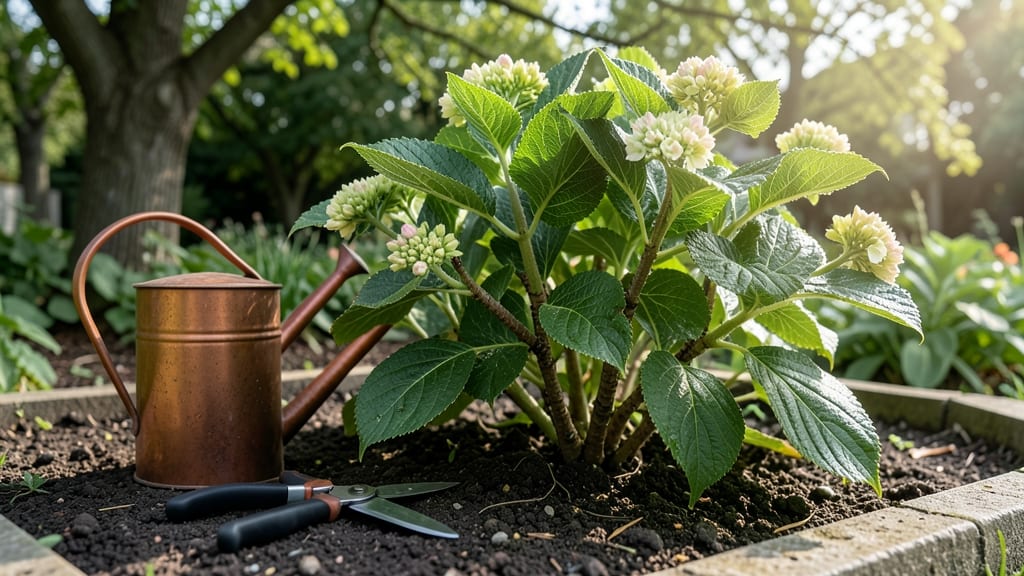
The care after winter for your hydrangeas is crucial—but now comes the real work: ✨ After months of dormancy, these plants need careful pruning, protection checks, and a little TLC to burst back into full bloom.
I’ve revived more than a dozen struggling hydrangeas using these exact steps, and the difference between a sad, leggy plant and a lush, flower-covered bush is all in the timing and technique.
The first step is assessing damage: snap off any brown stems at the base, but leave the green ones—they’re the future blooms. Then prune last year’s growth back by ⅓ to ½, depending on the variety.
Mopheads need shaping, while panicle types can handle a harder cut. Avoid fertilizing yet—wait until you see fresh, vibrant new growth, usually by late spring.
What you’ll end up with is a hydrangea that looks like it just woke from a long nap, not one that’s struggling to recover. The blooms will be fuller, the stems stronger, and the color—whether blue, pink, or white—will pop brighter than ever.
The key is patience: rush the process, and you’ll end up with fewer flowers or stunted growth.
Works for all hydrangea types, from bigleaf to oakleaf, and adapts to different climates—just adjust pruning slightly for colder zones. Here’s how to do it right the first time, without the guesswork.
📚 In This Guide
- What you need
- Instructions
- Tips and common mistakes
- Wrapping up and next steps
What you need
- ● Pruning shears or secateurs – Sharp, clean, and sterilized (to prevent disease spread).
- ● Gloves – Garden or work gloves (for protection from thorns and sap).
- ○ Pruning saw – For thicker stems (optional but helpful).
- ● Disinfectant (70% rubbing alcohol or bleach solution) – 1 part bleach to 9 parts water (for sterilizing tools).
- ● Garden twine or plant ties – For supporting weak stems if needed.
- ● Mulch (shredded bark, straw, or pine needles) – 2–3 inches thick (to insulate roots).
- ● Balanced fertilizer (10-10-10 or similar) – Follow package rates for application.
- ● Watering can or hose with gentle nozzle – For deep, even hydration.
- ● Plant food with micronutrients – Boosts recovery after dormancy.
- ● Frost cloth or burlap – For late-season protection if frost is forecasted.
- ● Garden journal or labels – To track pruning dates and notes.
- ● Compost or organic matter – For enriching soil post-pruning.
Step-by-Step instructions for reviving hydrangeas after winter
Here's how I bring my hydrangeas back to life each spring—no guesswork, just clear steps.
🌿 Step 1: Inspect for Winter Damage
Start by examining the plant for any winter-related damage. Look for brown, mushy stems or branches that feel hollow when tapped—these won't recover. I always check from the base upward, removing any dead wood with clean, sharp pruners. Healthy stems should be firm and greenish-brown underneath the bark.
If you see blackened or shriveled leaves still clinging to the branches, don't panic—those will fall off naturally as new growth emerges. Focus instead on the stems and buds. Healthy buds appear plump and brown, while shriveled ones are a sign the plant struggled through winter. This inspection helps you decide how aggressively to prune later.
✂️ Step 2: Prune for New Growth
Hydrangeas bloom on either old wood (last year's growth) or new wood (current year's growth), so timing matters. For varieties like Bigleaf or Oakleaf, prune in late winter or early spring before new buds swell. Cut back stems by about ⅓ of their height, removing any dead or weak growth first. I make clean cuts just above a set of healthy buds or outward-facing leaves.
For Panicled or Smooth hydrangeas, you can be more aggressive—cut back ⅔ of the way to the ground. These types bloom on new wood, so they bounce back quickly. Always use sharp pruners to avoid crushing stems, and sterilize them with rubbing alcohol between cuts to prevent disease spread.
💧 Step 3: Water and Fertilize for Revival
After pruning, give your hydrangeas a deep watering to rehydrate the roots. The soil should be moist 6 inches deep—stick your finger in to check. If it feels dry, water again in a few days. Overwatering now can suffocate roots, so let the top 2 inches of soil dry out between waterings.
Apply a balanced, slow-release fertilizer (like 10-10-10) in early spring to encourage strong new growth. I scatter granules around the base and water them in, avoiding direct contact with stems. For acid-loving varieties, add a handful of sulfur or aluminum sulfate to lower soil pH slightly—this boosts blue flower production.
☀️ Step 4: Protect from Late Frosts and Wind
New growth is tender, so shield your hydrangeas from late frosts by covering them with frost cloth if temperatures dip below 32°F. Secure the fabric loosely so it doesn’t touch the leaves. Remove it during the day to allow sunlight and air circulation. Wind can also stress young shoots, so consider staking taller varieties if they sway excessively.
Place hydrangeas in a spot with morning sun and afternoon shade—this prevents leaf scorch while keeping blooms vibrant. If your plant was in a sheltered spot over winter, gradually move it to its permanent location over 2-3 weeks to avoid transplant shock. Mulch the base with 2-3 inches of organic mulch to retain moisture and regulate soil temperature.
Tips & tricks for reviving hydrangeas after winter
Here's what nobody tells you about bringing your hydrangeas back to life—these tricks make all the difference between a sad, sparse plant and a lush, blooming beauty.
Pruning Precision: When you're cutting back those ⅓ to ⅔ of the stems in Step 2, make your cuts at a 45-degree angle just above a set of healthy buds or outward-facing leaves. This angled cut helps water run off, preventing rot. I also like to sterilize my pruners with rubbing alcohol between cuts—it keeps diseases from hitching a ride between branches. The key is to avoid leaving stubs, which can trap moisture and invite fungal growth. Confession: I skipped this step for years and wondered why my plants always looked stressed.
Bud Inspection Secrets: In Step 1, when checking those buds, look for plump, brown ones that feel firm to the touch. Shriveled buds are a red flag—they won't open this season. Here's what I learned the hard way: if more than half your buds look shriveled, hold off on aggressive pruning. Focus on removing only the dead wood first, then give the plant time to recover before making major cuts. Healthy buds are your best indicator of what's to come.
Watering Wisdom: That deep watering in Step 3 isn't just about hydration—it's about waking up the roots. I like to water in the morning so the soil has all day to absorb moisture before evening. And here's a trick: if your soil feels dry just 2 inches down after watering, you're not giving it enough. Aim for that 6-inch depth, but don't overdo it. Overwatering now can actually suffocate roots that are just starting to wake up from dormancy. Think of it as a gentle wake-up call, not a flood.
Frost Protection Hacks: When temperatures dip below 32°F in Step 4, frost cloth is your best friend—but don't smother the plant. Secure it loosely so leaves don't touch the fabric, and remove it during the day for sunlight. I also like to add a layer of straw mulch around the base before covering. This extra insulation helps regulate soil temperature and gives young shoots a fighting chance against late frosts. Between us, I've seen plants survive temperatures well below freezing with this combo of protection.
Pro Tips for Hydrangea Care After Winter
- Here's what nobody tells you about bringing your hydrangeas back to life—these tricks make all the difference between a sad, sparse plant and a lush, blooming beauty.
- Pruning Precision: When you're cutting back those ⅓ to ⅔ of the stems in Step 2, make your cuts at a 45-degree angle just above a set of healthy buds or outward-facing leaves.
- Bud Inspection Secrets: In Step 1, when checking those buds, look for plump, brown ones that feel firm to the touch.
Frequently asked questions
Got questions about bringing your hydrangeas back to life after winter? Here are some of the most common concerns—and practical answers—to help you get started!
When is the best time to prune hydrangeas after winter?
Prune bigleaf and smooth hydrangeas in late winter or early spring (February–March) before new growth appears. For panicle and oakleaf types, wait until late winter or early spring but after the last frost. Avoid pruning in fall—it can leave plants vulnerable to cold damage.
What if my hydrangeas look dead after winter?
Don’t panic! Hydrangeas can appear dormant or brown in winter. Wait until late spring (April–May) to assess. If stems are still firm, they’re alive—new growth will emerge. If they’re mushy or hollow, they’re likely dead and should be removed. Pro tip: Water deeply if the soil feels dry to encourage recovery.
How much should I cut back my hydrangeas?
For bigleaf and smooth hydrangeas, cut back 1/3 of the oldest stems to encourage new blooms. For panicle and oakleaf types, prune 1/2 to 2/3 of the plant to shape it and promote fuller growth. Always use clean, sharp pruners to avoid disease.
How do I protect hydrangeas from late frosts?
If frost is forecasted, cover plants with frost cloth or a light blanket (avoid plastic—it traps moisture). Water the base before the frost to insulate roots. Remove covers during the day to prevent overheating. Pro tip: Monitor weather apps for 32°F (0°C) warnings—hydrangeas are sensitive to sudden drops!
Can I fertilize hydrangeas right after pruning?
Yes! Apply a balanced fertilizer (10-10-10) or one high in phosphorus (for blooms) 4–6 weeks after pruning (around late March–April). For blue blooms, use an acid-loving fertilizer or aluminum sulfate. Avoid heavy feeding in fall—it encourages tender growth that won’t survive winter.
What if my hydrangeas get powdery mildew after winter?
Powdery mildew thrives in humid, crowded conditions. Prune for better airflow, remove infected leaves, and spray with a fungicide (neem oil or baking soda mix). Water at the base (not overhead) to keep foliage dry. Pro tip: Space plants 3–5 feet apart to reduce future outbreaks.
Wrapping up and next steps
Caring for your hydrangeas after winter is all about patience, protection, and a little TLC—and you’ve got this! 🌸 By pruning wisely, shielding them from late frosts, and feeding them the right nutrients, you’ll set the stage for stunning blooms all season long.
Remember, every gardener starts somewhere, so celebrate even the small victories, like new growth or a single bud!
Now that you’re armed with the know-how, take action: grab those shears, check your plants, and give them the love they deserve. Your hydrangeas will thank you with a showstopping display! Happy gardening! 🌿