
How To
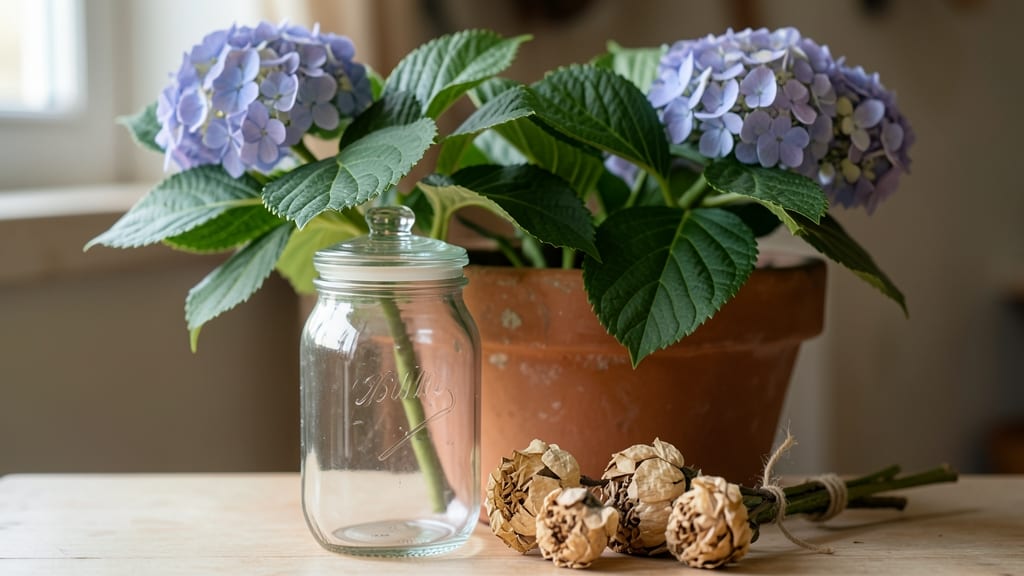
Preserving dried hydrangeas lets you keep their lush, papery blooms long after summer fades—here’s how to do it right. 🌸 I’ve turned wilting clusters into lasting decor that brightens my home year-round, and the best part? It takes less than 30 minutes of hands-on time.
The secret is choosing the right method for your blooms: air-drying works for sturdy varieties, while delicate hydrangeas need silica gel or careful hanging. You’ll need just a few supplies—like a clean, dry space or a jar of silica—and a little patience.
Mistakes like overcrowding or damp storage can ruin your flowers, but once you nail the technique, the results are stunning. Imagine vibrant green or deep blue blooms that stay crisp through winter, their texture preserved like a snapshot of summer.
Properly dried hydrangeas hold their shape for years, making them perfect for wreaths, garlands, or framed arrangements. For best results, store them in a cool, dry place away from direct sunlight.
Whether you’re a beginner or a seasoned crafter, these techniques will keep your hydrangeas looking fresh for seasons to come.
📚 In This Guide
- What you need
- Instructions
- Tips and common mistakes
- Wrapping up and next steps
What you need
- ● Fresh hydrangeas – Choose fully bloomed, healthy flowers (avoid wilted or pesticide-treated ones). Quantity: 1–2 bunches per project.
- ● Scissors or pruning shears – For clean cuts. Tip: Snip stems at a 45° angle for better water absorption if needed later!
- ● Newspaper, blotting paper, or parchment paper – For air-drying/pressing: 2–3 sheets per batch (or a dedicated drying tray).
- ● Rubber bands or twine – To bundle stems securely for hanging.
- ○ Drying agent (optional but recommended): Silica gel (for crisp, fast drying) – 1–2 lbs (enough to fully submerge small-to-medium blooms).
- ● Baking soda or borax (natural alternative) – 1–2 tbsp per quart of water for a drying bath.
- ● Drying rack or mesh screen – For air-drying (e.g., a wire cooling rack or embroidery hoop).
- ● Glass jar or container – Airtight, with a lid (for storing dried flowers long-term).
- ● Spray bottle with distilled water – To lightly mist blooms if they dry too fast.
- ○ Hairspray or floral preservative (optional) – 1–2 sprays to set colors and prevent fading.
- ● Cardstock or foam board – For pressing larger arrangements (e.g., 8.5”x11” sheets).
Simple techniques for preserving dried hydrangeas
Here’s how to transform your summer blooms into stunning, long-lasting decor—no special tools required!
🌿 Step 1: Harvest at Peak Dryness
Pick hydrangeas when the blooms are fully open but still slightly crisp to the touch. The best time is early morning after dew has evaporated. Use clean, sharp pruners to cut stems at a 45-degree angle—this prevents water from pooling and encourages better absorption later.
Strip the stems of all leaves except the top few. Leaves draw moisture and can cause mold during drying. Bundle stems in small groups of 3-5 and secure with twine or a rubber band. Hang them upside down in a dry, well-ventilated area with indirect sunlight—like a garage or covered porch. Avoid direct sun, which can bleach petals prematurely.
⏰ Step 2: Dry Thoroughly (2-4 Weeks)
Drying time depends on humidity, but aim for 2-4 weeks until stems snap cleanly when bent. Test by breaking a stem—if it snaps dryly, the blooms are ready. If stems bend without snapping, extend drying time. I like to place a small fan nearby to circulate air gently, which speeds up the process without damaging delicate petals.
Resist the urge to rush drying with heat. High temperatures can cause petals to crisp or lose color. Instead, rotate bundles weekly to ensure even drying. Once fully dry, store stems in paper bags (not plastic) to prevent moisture buildup. This step is critical—skipping proper drying leads to brittle, crumbly blooms that won’t hold their shape.
🪴 Step 3: Preserve for Long-Term Display
For arrangements, rehydrate dried stems by placing them in a vase with warm water for 1-2 hours before arranging. The blooms will plump up slightly and regain their natural shape. To preserve color, add a white vinegar rinse (1 part vinegar to 3 parts water) to the vase water—this prevents yellowing.
For wreaths or garlands, lightly spray dried blooms with hairspray or Mod Podge to lock in color and prevent crumbling. Arrange stems on a foam base or wire frame, securing with floral wire. Store finished pieces in a cool, dry place away from direct sunlight to maintain vibrancy for 6-12 months.
💡 Step 4: Alternative Preservation Methods
For a pressed look, place individual blooms between parchment paper and weigh them down with a heavy book for 2-4 weeks. This flattens petals while retaining some texture. Frame pressed blooms in shadow boxes for a vintage aesthetic. I’ve kept pressed hydrangeas this way for years with no fading.
To create resin-embedded blooms, coat stems and petals with a thin layer of clear resin (like E6000) and let cure for 24 hours. This method preserves blooms in 3D and makes them waterproof for outdoor displays. Seal the back with a second coat for durability. Resin-preserved hydrangeas last indefinitely if stored properly.
Tips & tricks for perfectly preserved dried hydrangeas
These simple yet game-changing techniques will help you transform your garden hydrangeas into stunning, long-lasting decor that rivals professional floristry!
Harvest Timing Secret: I can't stress enough how critical the morning harvest is—those dew-free hours mean your blooms will retain their vibrant color and crisp texture. If you miss morning, aim for late afternoon when temperatures drop slightly. The slight crispness you feel when touching the blooms is your cue—they're ready to be transformed into something magical. Pro tip: Harvest on a cloudy day if possible; direct sunlight during cutting can cause premature wilting.
Drying Technique That Changed Everything: The 2-4 week drying window might seem long, but patience pays off here. I've learned the hard way that rushing with heat or artificial drying methods destroys delicate petals. Instead, create a mini drying station by hanging bundles near an open window with a small fan on low—this gentle airflow speeds up drying without damaging the blooms. Test stems weekly by bending them; they should snap cleanly when completely dry. This method preserves the natural shape and color better than any shortcut.
Storage Wisdom: Once your hydrangeas are perfectly dried, store them in acid-free paper bags (not plastic!) to prevent moisture buildup that causes mold. I like to add a small silica gel packet to each bag for extra protection. Store in a cool, dark place—your garage or pantry works perfectly. These preserved blooms will maintain their beauty for years, making them perfect for holiday decorations you can use season after season. The key is keeping them completely dry; even slight humidity can ruin months of work.
Rehydration Rescue Strategy: When you're ready to use your dried hydrangeas in arrangements, that 1-2 hour warm water soak is your secret weapon. I've found adding a drop of dish soap to the water helps break surface tension, allowing the blooms to absorb moisture more effectively. For wreaths or garlands, skip the water soak entirely—just spray with hairspray or Mod Podge before arranging. This technique keeps petals from becoming too soft and floppy, which is especially important for outdoor displays that need to withstand weather.
Pro Tips for How Do You Preserve Dried Hydrangeas
- These simple yet game-changing techniques will help you transform your garden hydrangeas into stunning, long-lasting decor that rivals professional floristry!
- Harvest Timing Secret: I can't stress enough how critical the morning harvest is—those dew-free hours mean your blooms will retain their vibrant color and crisp texture.
- Drying Technique That Changed Everything: The 2-4 week drying window might seem long, but patience pays off here.
Frequently asked questions
Got questions about keeping your dried hydrangeas looking fresh and vibrant? You’re not alone! Here are some of the most common queries—and their answers—to help you master the art of preservation.
How long do dried hydrangeas last?
With proper care, dried hydrangeas can last years! Store them in a cool, dry place (like a closet or attic) away from direct sunlight. If you notice fading or brittleness after 1–2 years, it’s time to refresh them with a light spritz of water or a quick dip in floral preservative.
Can I dry hydrangeas too quickly?
Yes—rushing the process can make them crispy or prone to crumbling. Aim for 2–4 weeks of slow drying (hanging upside down in a dark, well-ventilated spot). If they dry too fast, they may lose their shape or color. Patience is key!
How do I revive dried hydrangeas that look dull?
Dullness often means moisture loss. Try this: Place the blooms in a shallow tray of room-temperature water for 10–15 minutes, then gently pat them dry with a paper towel. For extra shine, add a few drops of clear hairspray (like L’Oréal) to lock in hydration.
What if my hydrangeas mold or smell bad?
Mold or funky odors usually mean humidity or poor airflow during drying. Toss affected blooms and ensure future batches dry in a dry, airy space. If storing, use silica gel packets to absorb excess moisture. Prevention is easier than cleanup!
Are there alternatives to air-drying?
For faster results, try:
- Microwave drying: Place blooms in a paper towel and microwave on low (30% power) for 1–2 minutes. Monitor closely!
- Oven drying: Set to 200°F (93°C) and prop the door open. Check every 10 minutes to avoid burning.
- Silica gel: Bury blooms in food-grade silica beads for 2–4 days (great for instant preservation).
Wrapping up and next steps
Preserving dried hydrangeas is easier than you think—just a little patience and the right techniques! Whether you choose air-drying, silica gel, or glycerin infusion, you’ll keep their beauty alive for months. Embrace the joy of creating lasting floral art that brightens any space.
Ready to try? Pick your favorite method and start crafting your dried hydrangea masterpiece today! 🌸✨