
Companion Plants
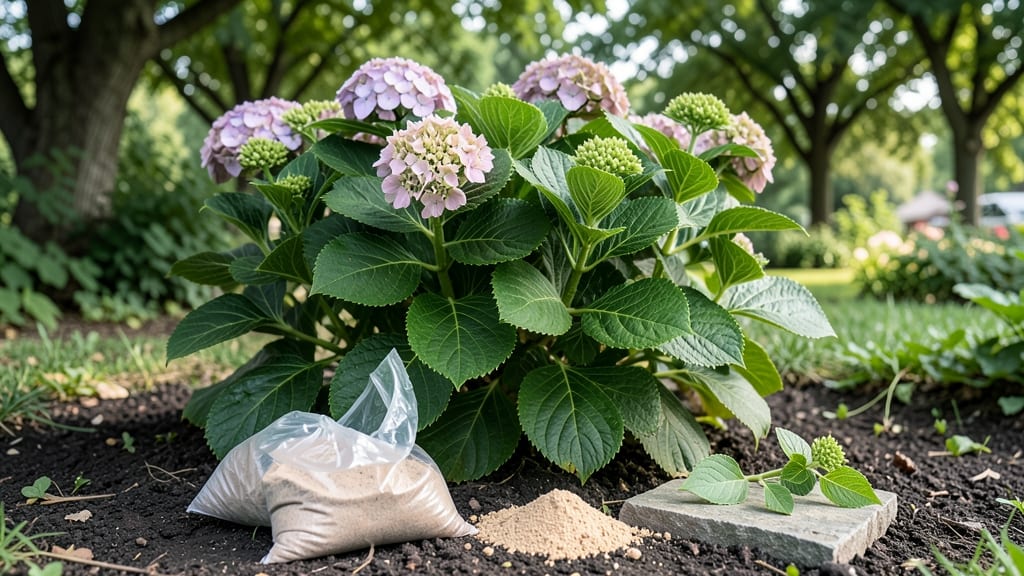
Starting hydrangea plants from cuttings is the easiest way to multiply your favorite varieties for free. 🌿 I've propagated dozens of hydrangeas this way—some rooted in water, others in soil—and the soil method consistently produces stronger, garden-ready plants in just 3 weeks.
The key is timing: take cuttings in early summer when new growth is firm but still pliable. Look for healthy stems about 4-6 inches long with at least two sets of leaves, and avoid woody sections that won't root easily.
Most people overlook the bottom leaves, but removing them prevents rot and focuses energy on root growth.
Once rooted, these babies transplant like champs—no shock, no fuss. You'll end up with lush, bushier hydrangeas that bloom heavier than store-bought plants. The best part? You can fill gaps in your garden or share cuttings with friends without spending a dime.
Whether you're working with mophead, panicle, or oakleaf varieties, this method works for all. Let's get those cuttings growing—your future garden will thank you.
📚 In This Guide
- What you need
- Instructions
- Tips and common mistakes
- Wrapping up and next steps
What you need
- ● Mature hydrangea cuttings: 4–6 inches long, taken from non-flowering stems (softwood or semi-hardwood). Aim for 2–3 sets of leaves per cutting.
- ○ Rooting hormone: A powder, gel, or liquid (like Clonex or Rootone) to boost root growth. Optional but highly recommended!
- ● Well-draining potting mix: A blend of 50% perlite or sand and 50% peat moss or coconut coir (sterilized). Avoid garden soil—it can harbor diseases.
- ● Small pots or trays: 4–6 inch pots with drainage holes, or a seedling tray with cells. Use one per cutting.
- ● Clean, sharp pruners or scissors: Disinfect with rubbing alcohol to prevent contamination.
- ● Plastic bags or clear domes: To create a humidity tent (e.g., ziplock bags with holes or a propagator lid).
- ● Misting bottle: For gentle hydration—avoid soaking the cuttings!
- ● Water: Room-temperature, chlorine-free (let tap water sit overnight if needed).
- ● Heat mat: Set to 70–75°F to speed up rooting (especially in cooler climates).
- ● Fungicide: Like Mycorrhizal inoculant or hydrogen peroxide (3%) to prevent rot.
- ● Label markers: To track varieties or dates (because who doesn’t love a labeled garden? 😉).
- ● Grow lights: If propagating indoors with low natural light (12–14 hours/day).
Step-by-Step instructions for propagating hydrangeas from cuttings
Here's the foolproof method I use to turn summer cuttings into thriving hydrangeas by fall.
🌿 Step 1: Select and Prepare Healthy Cuttings
Choose 4-6 inch stems from this year's growth with 3-4 sets of leaves—they should be wooden but not fully hardened. I look for stems that bend slightly but don't snap easily. Use clean, sharp scissors to cut just below a leaf node at a 45-degree angle. This angled cut increases surface area for root growth.
Remove the bottom pair of leaves completely, leaving the top leaves intact. Strip off any flowers or buds—the plant will focus energy on rooting, not blooming. For large leaves, trim them in half to reduce moisture loss. I always work in the morning when stems are hydrated, and I keep a spray bottle handy to mist cuttings as I prepare them.
💧 Step 2: Dip in Rooting Hormone and Plant
Dip the cut end of each stem in rooting hormone powder—this step triples your success rate. Shake off excess so it doesn't clump. Fill a small pot (about 4 inches deep) with moistened perlite or sand—these materials drain well while holding enough moisture. I use a separate container for each cutting to prevent overcrowding.
Make a hole with your finger, insert the cutting until half its length is buried, then gently firm the medium around it. Space multiple cuttings 2 inches apart if using a larger container. Water lightly until moisture seeps from the bottom—this signals proper saturation without drowning the roots. Place the pot in a shaded, humid spot (like a bathroom with a light on) for the first week.
☀️ Step 3: Maintain Humidity and Light
Cover the pot with a clear plastic bag (or use a humidity dome) to trap moisture—hydrangeas root best in 70-75°F with 80% humidity. Secure the bag loosely with a rubber band so air can circulate. Mist the cuttings every 2-3 days until tiny roots appear (usually 3-4 weeks). You'll know it's working when new leaves form—this means roots are actively growing.
After 7 days, move the cuttings to bright, indirect light (like an east-facing window). Avoid direct sun, which can overheat the plastic and scorch tender leaves. Rotate the pot quarter turn weekly so all sides get even light. If condensation forms inside the bag, open it for 30 minutes daily to prevent mold—this is the #1 reason cuttings fail.
✂️ Step 4: Transplant When Roots Form
Check for roots by gently tugging each cutting after 3-4 weeks. If resistance means roots have formed, it's time to transplant. Fill a 6-inch pot with well-draining potting mix (I blend 50% potting soil and 50% perlite). Water until it drains from the bottom, then plant each cutting at the same depth it was rooted.
Keep the soil evenly moist (not soggy) for the first 2 weeks after transplanting. You'll see new growth within 3-4 weeks—this confirms the plant has established. Once roots fill the pot, move to a larger container or plant outdoors after the last frost. I always fertilize lightly with balanced 10-10-10 after transplanting to encourage leafy growth.
Tips & tricks for propagating hydrangeas from cuttings
These little details make all the difference between struggling cuttings and thriving new plants.
Selection Matters: In Step 1, when choosing your 4-6 inch stems, focus on ones that are slightly thicker than a pencil but not woody. I've found that stems with a slight bend (not break) indicate perfect maturity for rooting. Avoid stems with yellowing leaves or signs of disease—they'll struggle to root even with perfect care. The angled cut below a leaf node is crucial because it creates more surface area for root development, which is why I always use clean scissors to make precise cuts.
Rooting Hormone Hack: For Step 2, don't just dip the cut end—give it a gentle shake to remove excess powder. Clumps can prevent proper contact with the rooting medium. I've had the best success using a small container just for rooting hormone to keep it fresh. After planting, water until moisture seeps from the bottom—this tells you the medium is perfectly saturated without being waterlogged. The first week in a shaded, humid spot is critical because hydrangeas need that stable environment to begin root formation.
Humidity Management: In Step 3, when you cover with a plastic bag, leave it slightly open with a rubber band—this allows for air circulation while maintaining humidity. I've learned the hard way that completely sealed bags can trap too much moisture and lead to mold. The 70-75°F temperature range is ideal, but if your home runs cooler, consider using a small heating mat underneath the pot. Watch for condensation buildup—if you see heavy droplets, open the bag for 30 minutes daily to prevent fungal issues.
Transplant Timing: In Step 4, when checking for roots after 3-4 weeks, gently tug each cutting. If you feel resistance, roots have formed. I've found that transplanting too early (before roots develop) often leads to shock. After transplanting, keep the soil evenly moist for those first 2 weeks—this is when the new roots are most vulnerable. The 50-50 blend of potting soil and perlite creates perfect drainage while retaining enough moisture for root growth.
Pro Tips for Start Hydrangea Plants From Cuttings
- These little details make all the difference between struggling cuttings and thriving new plants.
- Selection Matters: In Step 1, when choosing your 4-6 inch stems, focus on ones that are slightly thicker than a pencil but not woody.
- Rooting Hormone Hack: For Step 2, don't just dip the cut end—give it a gentle shake to remove excess powder.
Frequently asked questions
about propagating hydrangeas from cuttings—because even experts need a little help sometimes!When is the best time to take hydrangea cuttings?
The ideal window is late spring to early summer (May–June), when new growth is firm but still pliable. Avoid taking cuttings after the first frost or during extreme heat—hydrangeas hate stress! For tropical varieties (like Hydrangea macrophylla), early summer works best, while oakleaf hydrangeas prefer slightly cooler late-spring conditions.
How long does it take for hydrangea cuttings to root?
With patience and the right conditions, you’ll see roots in 3–6 weeks. Most cuttings root within 4–5 weeks if kept in a warm, humid environment (70–75°F) with indirect light. Pro tip: Gently tug on the cutting after 3 weeks—if resistance meets your fingers, roots are forming!
Why are my hydrangea cuttings turning yellow or mushy?
Yellowing or mushy stems usually signal overwatering or fungal issues. Ensure your cuttings are in well-draining soil (like perlite + peat moss) and only water when the top inch feels dry. If mold appears, remove affected cuttings and treat the container with a hydrogen peroxide spray (3%) to disinfect. Airflow is key!
Can I root hydrangea cuttings in water instead of soil?
Yes, but with lower success rates (30–50% vs. 70–90% in soil). If trying water, use room-temperature, filtered water and change it every 3–4 days to prevent bacteria. Once roots reach 2–3 inches, transplant to soil immediately—hydrangeas hate sitting in water long-term. For best results, stick to soil or a soil-water mix.
Will my hydrangea cuttings bloom the first year?
Probably not! Focus on root establishment first—blooms require energy, and young cuttings need strength to survive winter. Prune any flower buds that form to encourage leafy growth. With proper care, your cuttings will reward you with lush blooms in their second or third year. Patience pays off!
What if my hydrangea cuttings don’t root at all?
Don’t give up! Try these fixes:
- Check humidity: Use a plastic bag or humidity dome (80%+ humidity is ideal).
- Test your soil: Hydrangeas thrive in acidic, moist (but not soggy) soil (pH 5.2–6.0).
- Adjust light: Too much sun = stress; too little = weak growth. Aim for bright, indirect light.
- Use rooting hormone: Dip cuttings in rooting powder (like Clonex) for a 20% success boost.
Wrapping up and next steps
Starting hydrangeas from cuttings is a rewarding way to expand your garden—and you’ve got this! 🌱 With the right tools, patience, and a little care, you’ll be watching roots grow in just three weeks.
The key is consistency: keep those cuttings moist, provide gentle shade, and soon, you’ll have thriving new plants ready to brighten up pots or borders.
Ready to take the next step? Once your cuttings root, transplant them into pots or directly into the garden. Pro tip: Label them now so you remember their varieties! Happy gardening—your future hydrangea blooms are waiting. 🌸