
Companion Plants
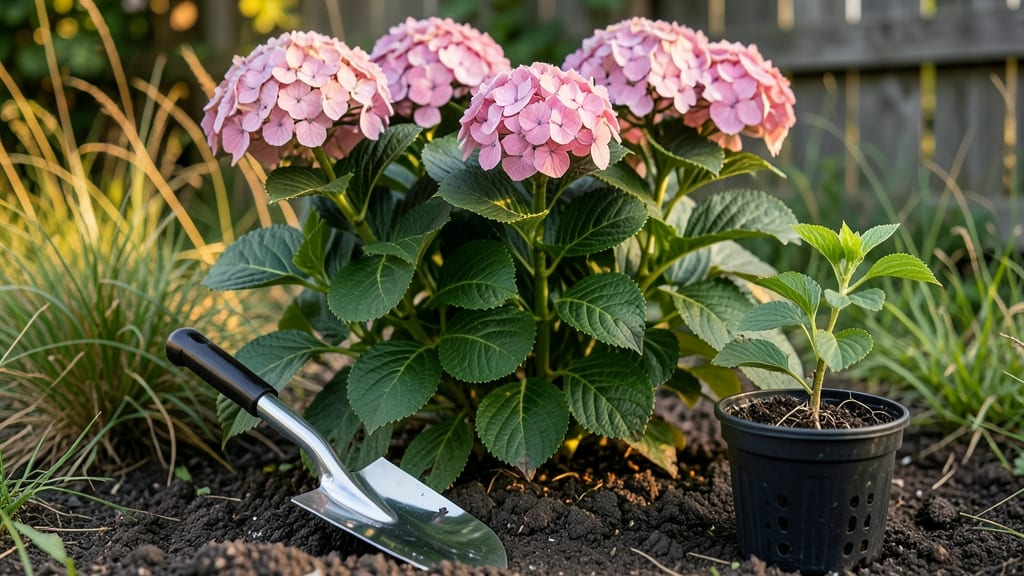
Moving hydrangea plants without losing next season’s blooms is all about timing and tender care. 🌸 I’ve transplanted mine twice—once in early spring and once in fall—and the second time produced bigger blooms than ever.
The secret isn’t brute force; it’s understanding when roots recover fastest and how to prep the plant so it doesn’t waste energy on shock. Start by pruning back one-third of the stems in early spring, right before moving. This redirects energy to root growth, not flower production.
Water deeply for a week beforehand to plump up roots, then dig a hole twice as wide as the root ball. The goal is minimal disturbance—hydrangeas hate having their roots exposed, so work quickly and keep the plant shaded until it’s settled.
After transplanting, mulch heavily to keep roots cool and moist. I use a 3-inch layer of shredded bark, which also suppresses weeds. The first year, you might see fewer blooms, but by year two, your hydrangea will bounce back stronger than ever.
Just be patient—hydrangeas are divas, but they reward the right care with dramatic color. This method works for both mophead and lacecap varieties, whether you’re relocating a single plant or dividing a crowded clump.
The key is consistency: keep soil evenly moist for the first month, and avoid heavy pruning for at least a year. Your hydrangea will thank you with blooms that put your neighbors’ to shame.
📚 In This Guide
- What you need
- Instructions
- Tips and common mistakes
- Wrapping up and next steps
What you need
- ● Garden gloves (1 pair) – Protect your hands from thorns and dirt.
- ● Pruning shears or sharp bypass pruners (1 set) – For trimming roots and stems cleanly. Tip: Sterilize blades with rubbing alcohol to prevent disease spread!
- ● Shovel or garden spade (1) – A sharp-edged spade (18–24 inches wide) works best for digging around roots.
- ● Garden fork or root prong (1) – Helps loosen compacted soil and tease apart tangled roots.
- ● 5-gallon buckets or containers (2–4, depending on plant size) – For transporting hydrangeas. Pro tip: Use breathable burlap sacks for larger plants to reduce root stress!
- ● Watering can or hose with a gentle spray nozzle – Keep roots moist during the move.
- ● Mulch (pine bark or shredded leaves) (1–2 bags) – For amending soil and retaining moisture post-transplant.
- ● Compost or well-aged manure (1–2 bags) – Improves soil fertility in the new location.
- ○ Stakes and twine (optional but helpful) – Supports hydrangeas if they’re top-heavy or in windy areas.
- ● Root stimulator or mycorrhizal fungi – Boosts root growth and recovery. 💡 Mix into the planting hole for extra vigor!
- ● Wheelbarrow – Makes transporting soil or large plants easier.
- ● Knee pads or a small stool – Saves your back during digging.
- ● Plant tag or marker – Labels help track varieties and care needs.
- ● Anti-transpirant spray – Reduces stress on leaves during hot days post-move.
Step-by-Step instructions for moving hydrangea plants
Here’s how I transplant hydrangeas with minimal stress—your plants will thank you with bigger, brighter blooms next season.
🪴 Step 1: Choose the Right Time and New Location
Move hydrangeas in early spring (just as new growth begins) or late fall (after leaves drop but before hard frost). Avoid transplanting during extreme heat or cold—roots need time to establish without shock. Pick a spot with morning sun and afternoon shade (or full shade in hot climates) and well-draining soil—hydrangeas hate soggy roots.
Dig a hole twice as wide as the root ball but only as deep as the plant’s current soil line. This prevents burying the stem too deep, which can rot. Amend the native soil with 2 inches of compost mixed into the bottom of the hole—hydrangeas thrive in slightly acidic, nutrient-rich soil.
💧 Step 2: Prepare the Plant for Transplanting
Water the hydrangea deeply 1-2 days before moving to encourage roots to grow outward toward the edges of the root ball. This makes them more resilient during transplanting. On moving day, prune one-third of the oldest stems (the thickest, woody ones) to redirect energy into new growth. I always cut just above a leaf node or bud—this ensures smoother recovery.
Gently loosen the soil around the edges of the root ball with a spade, working 6-8 inches out from the stem. Avoid cutting into roots—hydrangeas have shallow, sensitive root systems. If the plant is in a container, water it thoroughly the night before to reduce root damage during removal.
✂️ Step 3: Dig and Transport Carefully
Dig around the hydrangea in a wide, shallow arc, keeping the root ball intact. Lift the plant by the base of the stem (never the branches) and place it on a tarp or burlap. If the root ball is large, use a garden fork to lift it—this protects delicate roots. Keep the plant shaded and moist during transport; hydrangeas wilt fast when roots dry out.
Inspect the root ball for circling roots or damage. If you see roots growing in tight circles, gently tease them apart with your fingers or a knife—this encourages outward growth in the new location. Place the plant in its hole so the top of the root ball sits level with the surrounding soil (not mounded or buried).
🌱 Step 4: Plant and Water Thoroughly
Backfill the hole with the amended soil, pressing lightly to remove air pockets but avoiding compaction. Water deeply until moisture seeps 6 inches down—this settles the soil and eliminates air gaps around roots. Mulch the base with 2-3 inches of shredded bark or pine needles, keeping mulch 6 inches away from the stem to prevent rot.
Stake the hydrangea if needed—young or leggy plants benefit from support during establishment. Use 2-3 stakes tied loosely with soft fabric (never wire, which can cut into stems). Water every 2-3 days for the first 2 weeks, then taper to once a week once new growth appears. Avoid overhead watering to prevent fungal diseases.
☀️ Step 5: Monitor and Encourage Recovery
Keep the transplanted hydrangea lightly shaded for the first 7-10 days (use shade cloth or a temporary cover) to reduce stress. Watch for new leaves—this is your signal the plant is rooting successfully. If leaves yellow or wilt, water more frequently (hydrangeas need consistent moisture but hate soggy soil).
Fertilize 4-6 weeks after transplanting with a balanced, slow-release fertilizer (10-10-10) or an acid-loving plant formula to encourage vibrant blooms. Avoid high-nitrogen fertilizers—they promote leafy growth at the expense of flowers. Prune lightly in late winter to shape the plant and remove dead wood, but hold off on heavy pruning until the second year.
Tips & tricks for stress-free hydrangea transplanting
Between us, moving hydrangeas can feel like handling a diva—too much fuss and they sulk, but just the right care and they reward you with stunning blooms. Here's what I've learned the hard way after watching too many plants struggle through transplant shock.
Timing is Everything: The instructions mention early spring or late fall, but I'll add this: check your local frost dates. If you're in a region with unpredictable weather, lean toward late fall—just make sure the ground isn't frozen. I once moved a hydrangea in early spring only to have an unexpected frost damage the new growth. A quick call to your local extension office gives you exact dates to work with.
Root Ball Rescue: When you're inspecting that root ball in Step 3, pay special attention to any roots growing in tight circles. These are called "pot-bound" roots and they'll strangle your plant's growth if left unchecked. I've found that using a butter knife to gently slice through these roots (without cutting too deep) gives them room to spread outward in their new home. Think of it like giving your plant a root makeover!
Shade Strategy: That 7-10 day shading period in Step 5 is non-negotiable, but here's the secret: use shade cloth rated for 30-50% shade. This lets just enough light through for photosynthesis while protecting delicate new leaves. I keep a roll of this in my gardening shed year-round—it's one of those tools that pays for itself in plant survival rates. Plus, you can reuse it for other shade-sensitive plants.
Watering Wisdom: The instructions specify watering every 2-3 days for the first two weeks, but I've found a better system: water when the top 2 inches of soil feel dry to the touch. Hydrangeas hate soggy roots but they also can't handle drought stress during their vulnerable first weeks. I keep a small trowel handy to check soil moisture—it's more reliable than guessing based on time alone. And remember, water at the base, not overhead, to prevent fungal issues.
Pro Tips for Moving Hydrangea Plants
- Between us, moving hydrangeas can feel like handling a diva—too much fuss and they sulk, but just the right care and they reward you with stunning blooms.
- Timing is Everything: The instructions mention early spring or late fall, but I'll add this: check your local frost dates.
- Root Ball Rescue: When you're inspecting that root ball in Step 3, pay special attention to any roots growing in tight circles.
Frequently asked questions
Got questions about relocating your hydrangeas?
You’re not alone! Moving these lush beauties can feel intimidating, but with the right know-how, you’ll have them thriving in their new spot in no time. Below, we’ve rounded up the most common concerns—and their solutions—to keep your hydrangeas happy and blooming.
When is the best time to move hydrangea plants?
The ideal window is early spring or early fall when temperatures are mild (50–70°F) and the plant isn’t actively flowering. Avoid moving during heatwaves or cold snaps—hydrangeas hate stress! If you must transplant in summer, do it on a cloudy day and provide extra water afterward.
How long does it take for hydrangeas to recover after moving?
Most hydrangeas take 4–6 weeks to fully adjust, but some varieties (like Bigleaf or Oakleaf) may need up to 3 months. Watch for new growth—this signals they’re settling in! Avoid heavy pruning during this time; focus on consistent watering and shade protection if needed.
Should I fertilize my hydrangeas right after transplanting?
Hold off on fertilizer for 4–6 weeks post-move. New roots need time to establish without competing with nutrient overload. Instead, use a balanced, slow-release fertilizer (like 10-10-10) when you see fresh growth. For blue hydrangeas, add aluminum sulfate to the soil later if needed.
Can I move hydrangeas in pots instead of digging them up?
Potted hydrangeas are easier to relocate—just water them well 1–2 days before moving, then transport carefully (no direct sun!). For container-grown plants, choose pots 1–2 sizes larger than their current home and use well-draining soil. Bonus: You can move them indoors during winter if you live in a cold climate!
My hydrangea leaves are wilting after moving—what went wrong?
Wilted leaves usually mean root shock or underwatering. First, check the soil moisture—hydrangeas need 1–1.5 inches of water per week. If the roots look dry or shriveled, soak the base thoroughly. For severe wilting, trim damaged leaves and provide afternoon shade for 1–2 weeks. Avoid fertilizing until new growth appears!
Pro tip: Mark your calendar for next year’s move! Transplanting in early spring (just as buds swell) gives hydrangeas the best head start for summer blooms.
Wrapping up and next steps
Moving hydrangeas doesn’t have to be stressful—with the right timing, tools, and care, your plants can thrive in their new home! 🌿 Whether you’re relocating for better sunlight, space, or soil, remember to water deeply before and after, prune wisely, and monitor for signs of shock.
Patience and attention to detail will reward you with lush, vibrant blooms for seasons to come.
Ready to give your hydrangeas a fresh start? Mark your calendar for early spring or fall, gather your supplies, and get ready to transform your garden into a stunning display. Happy transplanting! 🌸