
Blooming
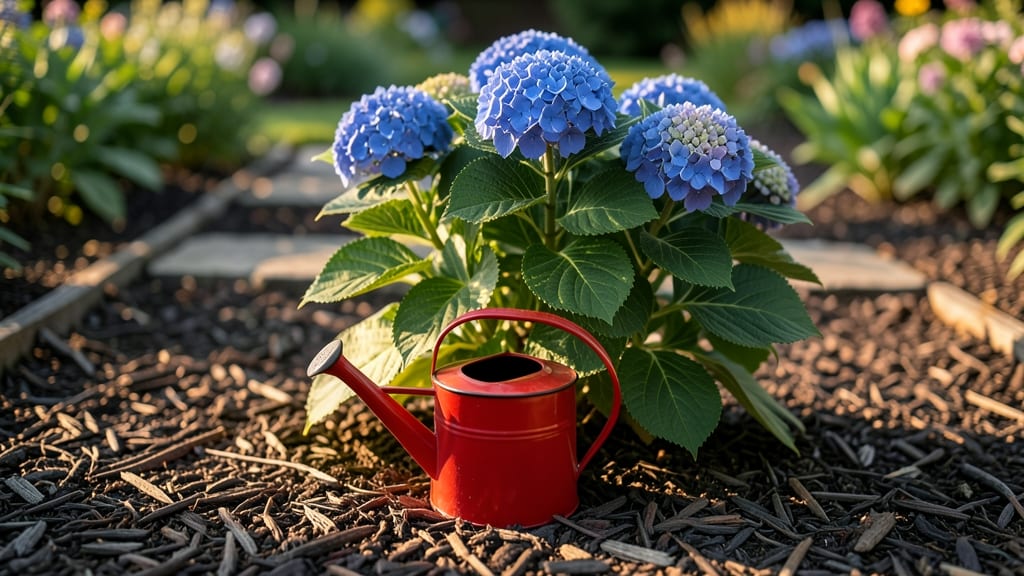
Taking care of hydrangeas outside starts with the right balance of sun, water, and soil—because those vibrant blooms you crave won’t happen without it. 🌿 I’ve watched my own hydrangeas go from sad, sparse stems to lush, flower-covered bushes just by adjusting these three basics.
The secret isn’t complicated, but it does require consistency, especially during the first growing season when roots establish.
Hydrangeas thrive in morning sun and afternoon shade, especially in hotter climates where direct afternoon rays scorch leaves. Your soil should be rich in organic matter and well-draining—think mulch, compost, and a touch of sand if your yard stays soggy.
Watering matters too: deep soaks 1-2 times per week (more in extreme heat) keeps roots happy without encouraging rot. Overwatering is the #1 way to kill hydrangeas, so let the top inch of soil dry out between drinks.
Pruning might seem scary, but timing is everything. For most varieties, cut back in late winter or early spring before new growth starts—this encourages bigger, fuller blooms later. If you prune too late, you risk cutting off next year’s flowers.
And here’s the kicker: hydrangea color changes based on soil pH! Blue blooms love acidic soil (think coffee grounds or pine needles), while pink thrives in neutral or slightly alkaline conditions. Test your soil and adjust if you want that dreamy blue or classic pink.
Winter protection depends on your zone. In colder areas, wrap the base with burlap or mulch heavily to insulate roots. In milder climates, just reduce watering as temps drop. The payoff? Four to six weeks of jaw-dropping blooms that turn heads—and your neighbors will ask how you do it.
Start with these basics, and you’ll be snapping photos of your hydrangeas in no time.
📚 In This Guide
- What you need
- Instructions
- Tips and common mistakes
- Wrapping up and next steps
What you need
- ● Hydrangeas: Choose between mophead, lacecap, or panicle varieties (3-5 plants per 100 sq. ft. for full coverage).
- ● Well-draining potting mix: 5-10 gallons (blend of peat moss, perlite, and compost for optimal aeration).
- ● Garden gloves: 1 pair (nitrile-coated for durability).
- ● Pruning shears: 1 pair (bypass blades, sharp and sterilized).
- ● Watering can or hose: 3-5 gallons capacity (with a gentle spray nozzle).
- ● Mulch: 2-3 inches of organic mulch (e.g., shredded bark or pine needles).
- ● Fertilizer: Balanced granular: 10-10-10 (1 lb per 10 sq. ft.).
- ● Acid-loving formula: (e.g., 16-4-8 for blue blooms or 10-6-4 for pink).
- ● pH test kit: 1 (to monitor soil acidity between 5.2–6.0).
- ● Aluminum sulfate or lime: Small quantities (adjust pH as needed).
- ● Drip irrigation system: For consistent moisture (especially in hot climates).
- ● Plant supports: Stakes or cages (for heavy blooms like mopheads).
- ● Slow-release fertilizer spikes: 2-3 per plant (for convenience).
- ● Frost cloth: 1 roll (to protect tender varieties in winter).
- ● Decorative pots: 1-2 large containers (12"+ diameter) if growing in pots.
Step-by-Step guide to caring for hydrangeas in outdoor gardens
Here’s how I keep my hydrangeas thriving year-round with fewer deadheads and more vibrant blooms.
🌿 Step 1: Choose the Perfect Planting Location and Soil
Hydrangeas crave partial shade—think morning sun with afternoon shade—especially in hotter climates. I plant mine where they get 4-6 hours of filtered light daily, like under a large tree or near a north-facing wall. This prevents leaf scorch while ensuring enough light for strong blooms.
Amend the soil with 2-3 inches of compost before planting to improve drainage and nutrient retention. Hydrangeas hate soggy roots, so if your soil drains poorly, mix in sand or perlite to create a well-aerated root zone. Test your soil’s pH—hydrangeas thrive in acidic soil (pH 5.5-6.2) for blue blooms or neutral soil (pH 6.5-7.0) for pink flowers.
☀️ Step 2: Water Deeply and Consistently
Water hydrangeas 1-2 times per week, giving them 1-2 gallons per plant each time. The key is deep watering—soak the soil until it’s 6 inches down, then let it dry slightly before watering again. You’ll know it’s right when the top 2 inches of soil feel dry to the touch but the roots stay hydrated.
Mulch around the base with 3 inches of organic mulch (like shredded bark) to lock in moisture and regulate soil temperature. Keep mulch 3 inches away from the stem to prevent rot. If you notice wilting leaves, it’s usually a sign of underwatering—hydrangeas respond quickly to consistent moisture.
✂️ Step 3: Prune for Seasonal Growth and Blooms
Prune hydrangeas right after flowering (late summer) or in early spring before new growth appears. For bigleaf hydrangeas, cut back old wood (last year’s stems) by ⅓ to ½ to encourage new blooms. For panicle or smooth hydrangeas, prune in late winter to shape the plant and remove dead stems.
Never prune in fall—this removes next year’s flower buds. Use clean, sharp pruners and make cuts just above a leaf node or outward-facing bud. If your hydrangea isn’t blooming, check if you’re pruning at the wrong time—this is the #1 mistake gardeners make.
💧 Step 4: Feed and Adjust for Bloom Color
Fertilize in early spring with a balanced, slow-release fertilizer (like 10-10-10) to support new growth. For blue blooms, add aluminum sulfate (1 tablespoon per gallon of water) every 4-6 weeks during the growing season. For pink blooms, avoid aluminum and use a neutral pH fertilizer instead.
I also top-dress with compost tea in late spring to boost microbial activity in the soil. Over-fertilizing leads to leafy growth at the expense of flowers, so follow package instructions carefully. If your hydrangea’s leaves turn yellow, it’s often a sign of over-fertilizing or poor drainage.
⏰ Step 5: Prepare for Winter and Protect Delicate Varieties
In zones 5-7, wrap the base of hydrangeas with burlap or frost cloth in late fall to protect roots from freezing. For tender varieties, mound 4-6 inches of mulch around the plant to insulate the soil. Prune dead or damaged stems in early spring after the last frost—never in fall.
Watch for buds forming in late summer—these are next year’s flowers. If you live in a cold climate, consider container-grown hydrangeas so you can move them to a sheltered spot for winter. Hydrangeas are surprisingly resilient, but a little winter prep goes a long way in keeping them blooming for years.
Tips & tricks for perfect outdoor hydrangea care
Here's what nobody tells you about keeping your hydrangeas looking their best all year—these tricks have saved my plants from common pitfalls.
Light Balance: That 4-6 hours of filtered light in Step 1 is crucial, but don't assume all shade is equal. East-facing windows or dappled sunlight from deciduous trees create ideal conditions. I've found that hydrangeas near south-facing windows often develop leaf scorch by afternoon—watch for crispy edges as your early warning sign. If you notice this, move your plant gradually to prevent shock.
Soil Science: The 2-3 inches of compost recommendation is non-negotiable, but here's the secret: mix in a handful of chelated iron if your leaves develop yellowing between veins (a classic sign of iron deficiency). For container-grown hydrangeas, I use a 60/40 mix of potting soil and perlite to prevent compaction, which can strangle roots. Test your soil pH annually—hydrangeas are divas about their acidity levels!
Watering Wisdom: Those 1-2 gallons per plant aren't just about quantity—they're about technique. Use a rain gauge or tuna can to measure water depth accurately. I've learned that watering in the morning prevents fungal issues, and always water at the base rather than overhead. The top 2 inches dry test is foolproof, but I also check the soil 6 inches down with a screwdriver—if it's damp, you're golden.
Pruning Precision: When you're cutting back that old wood in Step 3, look for the largest outward-facing buds just above where last year's blooms grew. These buds will produce your next year's flowers. I mark them with a white pencil before cutting to avoid accidental removal. And here's a pro move: sterilize your pruners with rubbing alcohol between cuts to prevent spreading disease.
Pro Tips for Take Care Of Hydrangeas Outside
- Here's what nobody tells you about keeping your hydrangeas looking their best all year—these tricks have saved my plants from common pitfalls.
- Light Balance: That 4-6 hours of filtered light in Step 1 is crucial, but don't assume all shade is equal.
- Soil Science: The 2-3 inches of compost recommendation is non-negotiable, but here's the secret: mix in a handful of chelated iron if your leaves develop yellowing between veins (a classic sign of iron deficiency).
Frequently asked questions
Got questions about keeping your hydrangeas thriving outside? You’re not alone—these beauties can be a little finicky! Here are answers to the most common concerns, so you can enjoy lush blooms all season long.
When is the best time to plant hydrangeas outdoors?
Plant hydrangeas in early spring or fall when soil temperatures are mild (50–70°F). Avoid extreme heat or frost, as roots need time to establish. If planting in summer, keep soil consistently moist and provide afternoon shade to reduce stress.
Do hydrangeas need winter protection?
Yes! In USDA Zones 5–7, mulch the base with 3–4 inches of organic mulch (like straw or shredded leaves) after the ground freezes. Wrap young plants or tender varieties (e.g., Hydrangea macrophylla) with burlap for extra insulation. Prune in late winter to avoid damaging dormant buds.
Why are my hydrangea leaves turning brown or yellow?
Brown/yellow leaves often signal overwatering, underwatering, or nutrient deficiency. Check soil moisture—hydrangeas prefer consistently damp (not soggy) soil. Yellowing edges may mean iron deficiency (try chelated iron) or pH issues (test soil; aim for 5.5–6.2 for blue blooms, 6.0+ for pink).
Can hydrangeas survive full sun?
Most hydrangeas thrive in partial shade (morning sun + afternoon shade), especially in hot climates. Oakleaf hydrangeas and panicle types tolerate more sun, but mopheads may scorch. If your plant is in full sun, provide afternoon shade or mulch to retain moisture.
How do I change my hydrangea flower color?
Flower color depends on soil pH:
- Blue/Purple: Acidic soil (pH 5.5–6.2) – Add sulfur or cottonseed meal.
- Pink: Neutral/alkaline soil (pH 6.0+) – Use lime or wood ash.
- Green: Too alkaline – Test soil and amend gradually.
Wrapping up and next steps
Caring for hydrangeas outside is all about patience, observation, and a little love—and with these tips, you’re well on your way to stunning, year-round blooms! 🌸 Remember, consistent watering, proper sunlight, and seasonal adjustments are your best friends.
Whether you’re pruning, fertilizing, or protecting them from frost, each step brings you closer to a thriving garden centerpiece.
Now that you’re armed with the know-how, roll up your sleeves and give your hydrangeas the TLC they deserve. Start small—pick one task this week, like checking soil moisture or inspecting for pests, and build from there.
Before you know it, your garden will be bursting with color, and you’ll be the proud hydrangea whisperer in the neighborhood! 🌿✨