
Plants
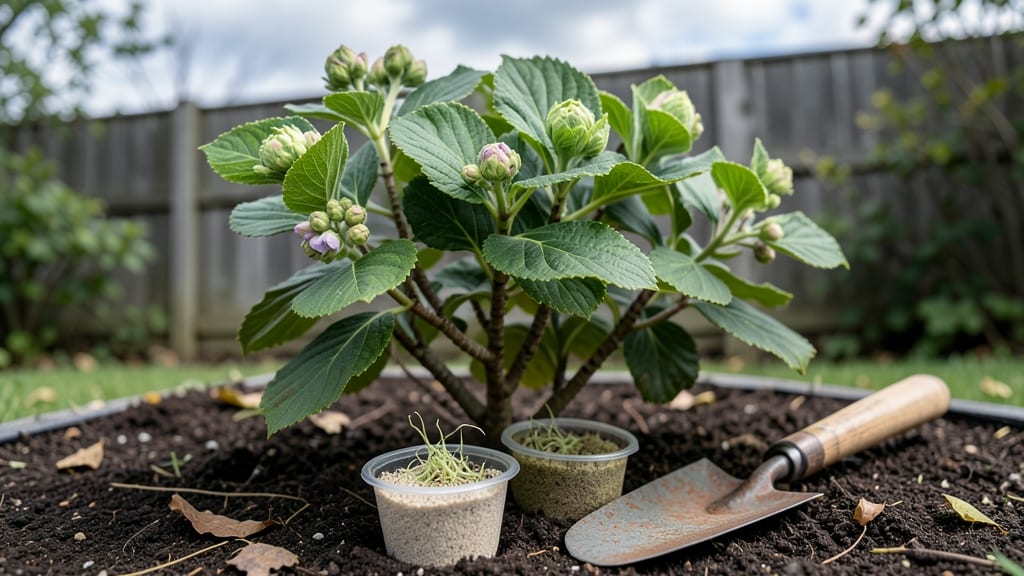
Planting hydrangea cuttings outside at the right time means the difference between lush, blooming shrubs and sad, stunted stems.
Timing is everything when it comes to planting hydrangea cuttings—get it wrong, and your delicate stems risk frost damage or stunted growth. But master the perfect window, and you’ll unlock lush, thriving blooms that last for years.
In USDA Zone 6a (and beyond), the sweet spot is late spring to early summer after your last frost date, typically around May or June. But regional differences matter: Southern gardeners can plant as early as April, while Northern zones may need to wait until July.
Below, I break down the exact months for your zone, how to prep cuttings for transplant shock, and the key signs your hydrangeas are ready to thrive outside.
Best months to plant hydrangea cuttings by USDA hardiness zones
Hydrangea cuttings thrive when planted during their optimal growing window, but the perfect timing shifts dramatically across USDA hardiness zones 3-11. In colder zones, you’ll need to wait until after last frost to avoid root shock, while warmer zones offer a broader planting window.
Let’s break down the ideal months for each zone to ensure your cuttings establish strong roots before winter or summer heat sets in.
Your local climate plays a critical role—even within the same zone, early springs or late frosts can push your planting window by weeks. For example, Zone 5 gardeners in Minnesota might plant in late May, while those in Zone 5 Colorado could start as early as mid-April.
Always check your last frost date and adjust accordingly to avoid frost damage.
Here’s a zone-by-zone breakdown of when to plant hydrangea cuttings outside, including frost risk analysis and adjustments for unpredictable weather. Use this as your guide to timing perfection and root success.
For Zones 3-4, where winters are harsh, late May to early June is your sweet spot. By this time, the soil has warmed enough to support root growth, and the risk of late frosts has significantly decreased.
If you’re in an area with unpredictable springs, like Zone 5, consider using a frost watch service or planting in containers for flexibility. This way, you can move cuttings indoors if frost threatens.
In warmer zones (7-10), the challenge shifts from frost to heat stress. Planting in early spring (March-April) gives your hydrangeas time to establish roots before the summer heat peaks.
If you’re in Zone 9 or 10, avoid planting in July or August—the intense sun and heat can cause transplant shock and root desiccation. Instead, opt for fall planting in these regions.
If you’re in Zone 11, where frost is nearly nonexistent, you can plant hydrangea cuttings year-round. However, summer planting is riskier due to intense heat and drought conditions.
For best results, focus on fall or winter months when temperatures are milder and humidity is higher, creating ideal conditions for root establishment.
Pro tip: Always harden off your cuttings before transplanting. If you’ve been rooting them indoors or in a greenhouse, gradually expose them to outdoor conditions over 7-10 days.
Start with 2-3 hours of sunlight and increase exposure daily. This acclimation process reduces transplant shock and helps your hydrangeas adjust to their new environment.
Once your cuttings are in the ground, mulch heavily around the base to retain moisture and regulate soil temperature. This is especially important in drier zones (7-11), where water loss can stunt root growth.
Use organic mulch, like shredded bark or straw, and keep it 2-3 inches thick to protect your young plants.
Remember, the key to success is timing + preparation. Whether you’re in Zone 3 or Zone 11, aligning your planting schedule with your local climate and adjusting for unpredictable weather will give your hydrangea cuttings the best chance to thrive.
With the right zone-specific approach, you’ll be rewarded with vibrant blooms and healthy growth for years to come.
🌸
How to prepare hydrangea cuttings for outdoor planting success
Preparing hydrangea cuttings for outdoor planting starts long before you stick them in the soil. The key is selecting healthy, mature stems with at least 3-5 leaf nodes—these are your future blooming powerhouses.
I always look for wooden, not green stems from the current year’s growth, as they root best. Avoid cuttings with flower buds or signs of disease, like yellowing leaves or soft spots.
Once you’ve chosen your cuttings, decide between two rooting methods: water propagation or direct soil planting. I prefer water first because it lets me monitor root growth, but soil works too if you’re patient.
For water rooting, trim cuttings at a 45-degree angle just below a node, then place them in a jar of room-temperature water. Change the water every 2-3 days to prevent bacteria buildup.
After 4-6 weeks, roots should be 1-2 inches long. This is your cue to start hardening off the cuttings. Gradually expose them to outdoor conditions over 7-10 days, moving them to sunnier spots each day.
I start with 2 hours of morning sun and work up to full sun by planting day. Skip this step, and your cuttings may suffer transplant shock when moved outside.
Hydrangea cuttings need consistent warmth (above 60°F/15°C) and settled soil to thrive. Planting before the last frost risks freeze damage, while waiting too long may cause stunted root growth. In USDA Zones 3-5, aim for late May to early June. Zones 6-9 can plant April to July, and Zones 10-11 should plant September to October to avoid summer heat stress.
Before planting, amend your soil with organic matter like compost or peat moss to improve drainage and fertility. Hydrangeas love acidic to neutral soil (pH 5.2-6.5), so test your soil and adjust with sulfur or lime if needed.
I dig a hole twice as wide as the root ball and mix in 1 part compost to 2 parts native soil for the perfect blend.
When transplanting, bury cuttings 2-3 inches deep to encourage root stability. Space them 12-18 inches apart to allow airflow and prevent fungal diseases. Water deeply right after planting to eliminate air pockets in the soil.
Mulch around the base with 2-3 inches of organic mulch to retain moisture and regulate soil temperature.
After planting, keep the soil consistently moist (not soggy) for the first 4-6 weeks while roots establish. I water mine in the early morning to reduce evaporation and fungal risks.
Avoid fertilizing during this time—your cuttings need to focus on root growth, not foliage. Once they’re settled, you can resume regular feeding in late spring or early summer.